ich kann ja ganz schlecht etwas verschwenden… also horte ich die unterlagenblätter (butterbrotpapier), die bei meinen spray-aktionen übrig bleiben – kann man immer wieder mal verwenden…
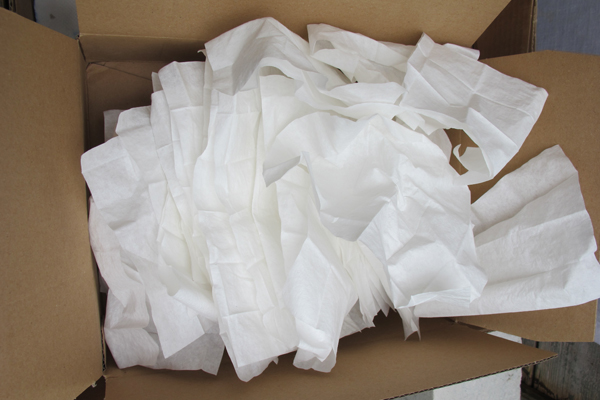
was ich in letzter zeit auch aufgehoben habe, sind die brillenputztücher, die “fast unbenutzt”, aber halt ausgetrocknet, jeden tag liegengeblieben sind. habe begonnen, sie in einer schachtel zu sammeln. es waren über 50 – und heute war der tag…
i always save the (deli-) papers i have laying under my spray-works
plus i saved the papers i clean my glasses with… 50+ so far… so time to make something…
~~~~~
zuerst habe ich etwa ein dutzend der tücher unters wasser gehalten
first i watered about a dozen of them…

~~~~~
dann habe ich die tücher einzeln auf restpapier vergangener sprayaktionen gelegt…
then i layered them (one at a time) on top of leftover papers from earlier spraying actions…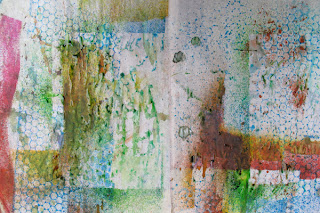

~~~~~~
hier mit zwei farben besprüht…
sprayed them with two colors…

~~~~~
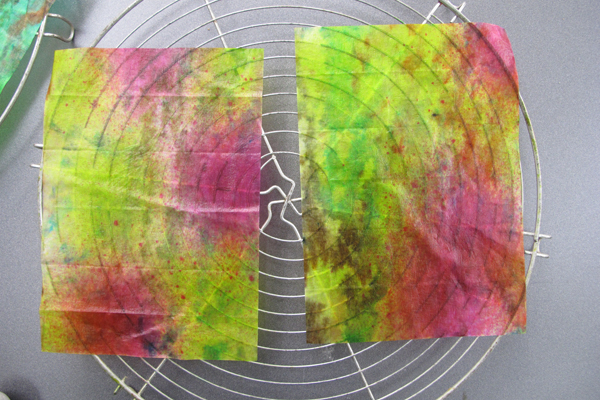
zum trocknen auf kuchengitter gelegt (die kreise sieht man z.t. nach dem trocknen, was mir sehr gefällt)
placed them for drying on some cooking racks (you can see the circles afterward, what i like)
~~~~~
da sich die farben der früheren aktionen durch die nassen tücher wieder anlösen, habe ich gemerkt, dass ich gar nicht 2 farben sprühen muss – es reicht eine, und es ergibt sich trotzdem eine gute musterung…
because the colors of the earlier actions are reactivated by the water, i noticed i only needed to spray one color to get patterned results…

~~~~~
hier sieht man, wie die alten farben mit aufgenommen werden…
this shows how the reactivated colors are taken by the new paper…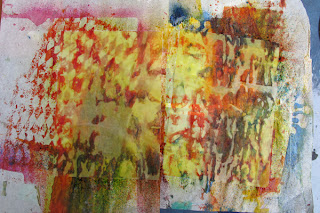

~~~~~
und wieder zum trocknen ausgebreitet…
spread to dry

~~~~~
dann habe ich bei einem farbintensiven blatt einfach ein nasses brillentuch draufgelegt und die aufgenommene farbe einfach mit dem finger verstrichen… entstanden sind diese tücher ganz ohne neues spray…
here i took a color intense old paper, layered it with a white wet paper and spread the color with my fingers… voilà, not even new spray needed…

~~~~~
hier noch der nasse rest der unterlage – auch das lässt sich getrocknet nochmal irgendwie verwenden…
the wet rest of the paper underneath… sure i will use also this one after drying…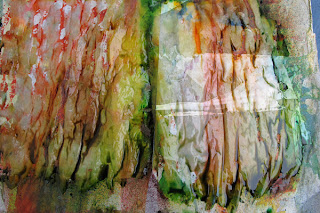

~~~~~
es war schön windig, die tücher hat es im ganzen garten rumgeweht, aber macht ja nix; irgendwann hab ich sie wieder eingesammelt
it was windy – perfect for drying… the papers flew through the garden and later on i just collected them…

~~~~~
und dann kam die letzte arbeit: bügeln (oben vorher – unten nachher)… das mache ich immer im laminiergerät (ohne folie natürlich), da geht das ratz-fatz.
the last work to do was ironing (see before & after), which i always do with the laminator (without foil, of course)

nun habe ich einen ordentlichen stapel schöner hintergründe… vielleicht geh ich bei ein paar nochmal mit schablonen drüber – und ich hab auch schon angefangen, die ersten zu verarbeiten. fortsetzung also in den nächsten tagen…
now i have quite a bunch of colorful backgrounds… maybe i will do some more stencil spraying on some of them – and i already started to work with them. so stay tuned for the next days…
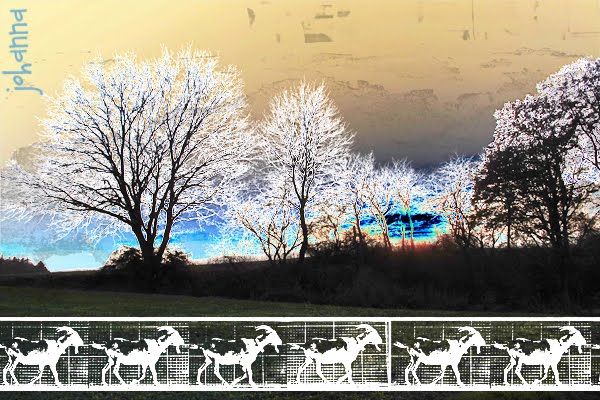
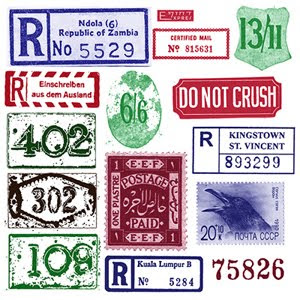 today i want to give you an easy lesson how to make your own brushes for photo editing. above you see some samples i HAD made for myself (from sources i found in the internet, like registration labels etc