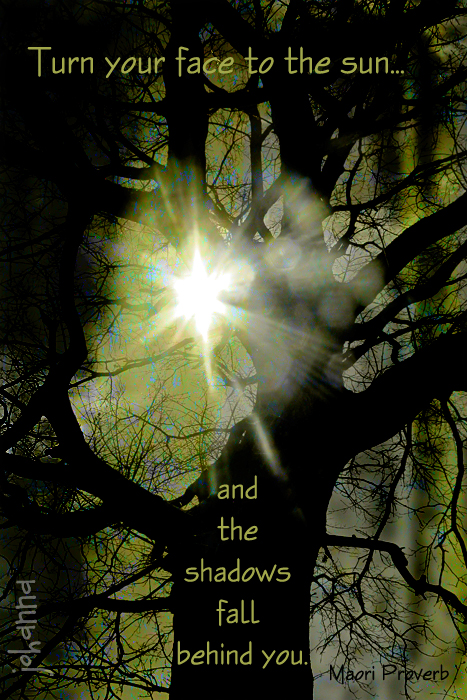
the 3 muses ask for words or quotes this week. this is one of my favorites… and nancy donaldson provided the textures i used: cemetery 1 + 4 + 6 (you can find them in her flickr)

the 3 muses ask for words or quotes this week. this is one of my favorites… and nancy donaldson provided the textures i used: cemetery 1 + 4 + 6 (you can find them in her flickr)

 one of the most wonderful pinks (in my opinion) is the color of the european spindle tree. here i layered it with kim´s texture ugglove and nancy donaldson´s new billboard#4.
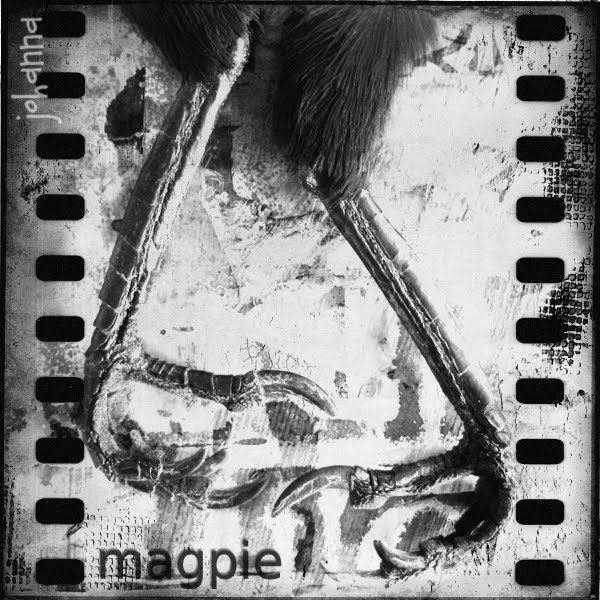 the photo with the magpie claws has textures from kim (ugglove), a new one from nancy donaldson (billboard 2) and one from shadowhouse (film3)
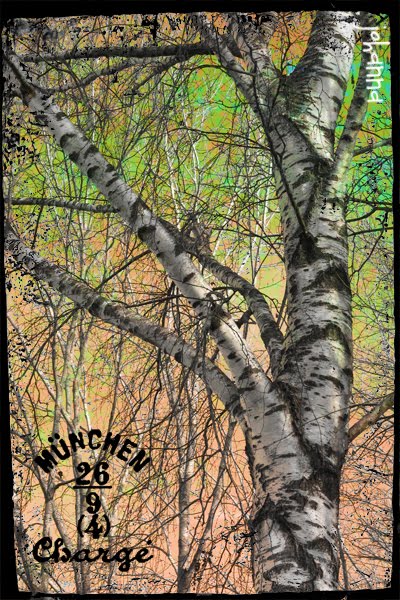
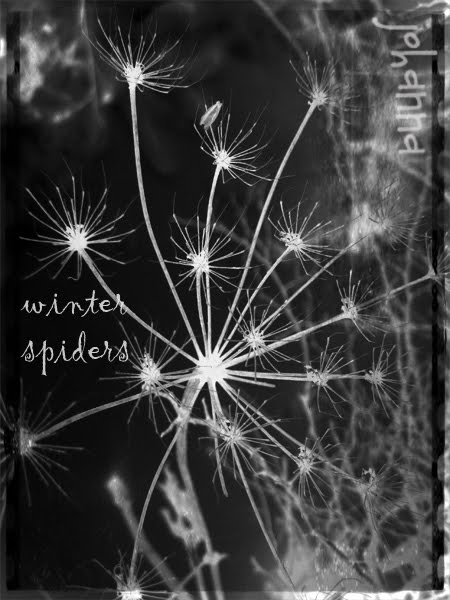 on the other b&w photo i set the withered remains of heracleum at inverted… don´t they look like spiders?
 our cat with texture grunge10; the arabian script/numbers-brush i made from a licence sign (i suppose…)
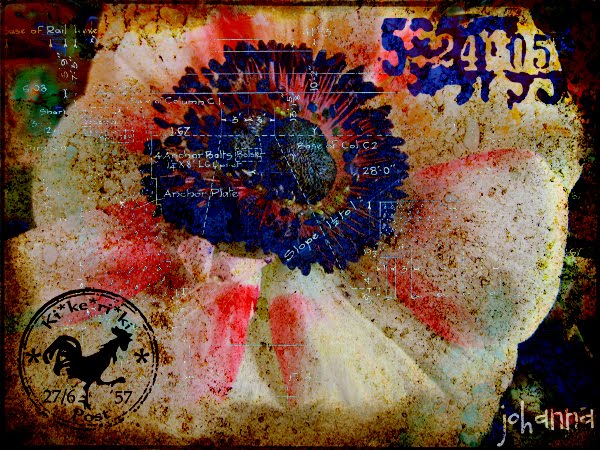 the flower was layered with a blueprint (my own ephemera), nancy´s texture grunge12 and brushes
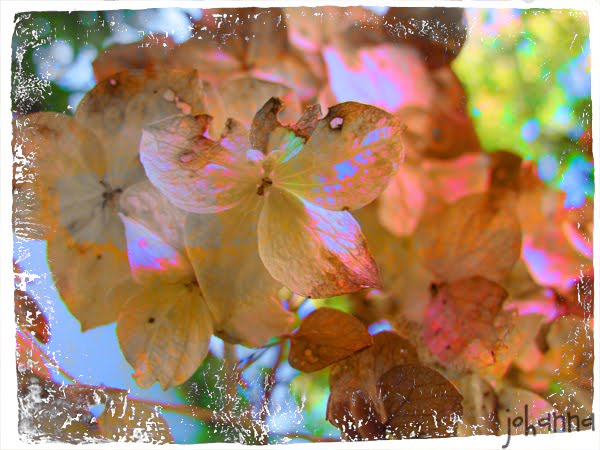 the hydrangea photo was layered with 2 textures from nancy: grunge9 + 2b (an older one, to frame it)
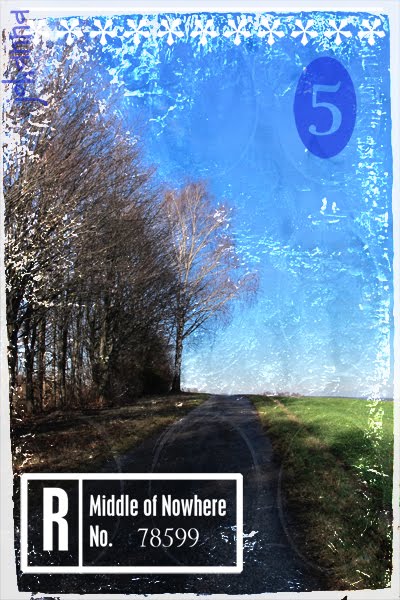
 working with the new textures nancy provided this week (see link in my blogroll). these encaustic textures really are awesome – thanks so much, nancy!
 i just love nancy´s brushes and played here with multiples of the new, colorful ones…
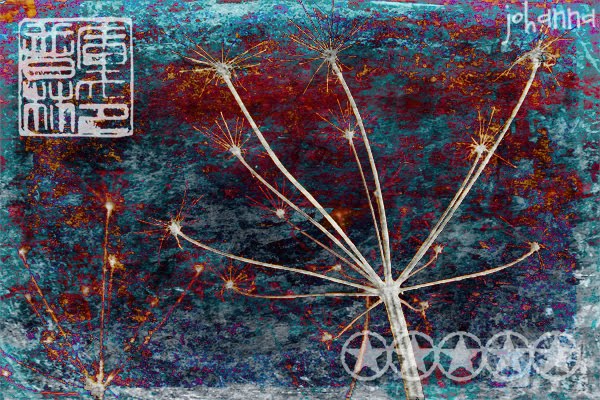 nancy donaldson (link in my blogroll) provided some new textures, which i applied to the heracleum. and couldn´t resist to use brushes, too;)
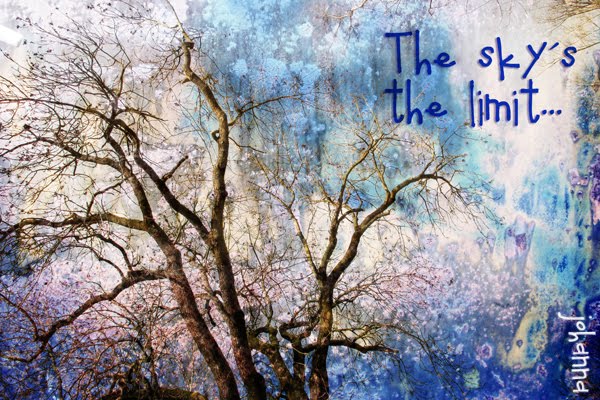
 kim asked for this texture tuesday to think around the word “open”… i googled for quotes and found this one: “the only way to find true happiness is to risk being completely cut open” – i edited it kim´s texture “autumn burst” (blending mode overlay) and twice nancy donaldson´s texture “pole3″ (at soft light). brush at the bottom right is selfmade…
if you follow my blog, you can see i´m addicted to textures and – more and more – to brushes… i think that comes from my other love, rubber stamping. brushes are like stamps, but can not only change their color (as with various inkpads), you can also alter the size, rotate their angle, distort them, define their opacity… which gives you lots of possibilities!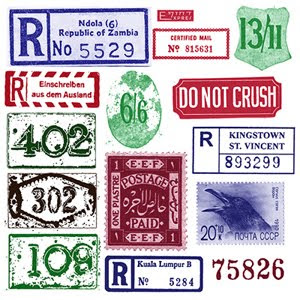 today i want to give you an easy lesson how to make your own brushes for photo editing. above you see some samples i HAD made for myself (from sources i found in the internet, like registration labels etc) [side note: a few days ago i LOST all these brushes i stamped there because i somehow managed to set my photo editing program to default... arghhh!! i swear i had done NOTHING (as always;))... and i had NOT saved the brushes... now i must try to re-gain all these pictures!! so be warned and make frequent savings... i hear my husband repeating this on and on, but seems i must learn it the hard way;)]
actually i learned the important things by watching kim klassen´s free tutorial about making watermark brushes here: http://vimeo.com/26934262
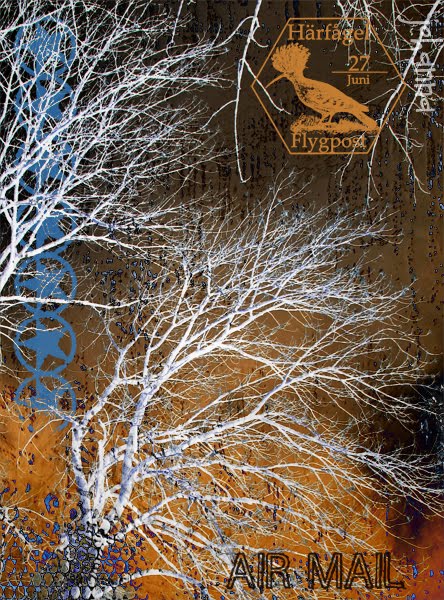
first you open a > new blank white > file (not larger than 2500 x 2500) then you copy your label, cancellation stamp (or whatever you want to turn into a brush) onto this white file. make sure your picture is b/w and has good contrast (edit it this way before, if you have a colored source like a blue airmail label f.e.) take attention that your picture is not too small (you can enlarge it on your “new file” after rasterizing) — you also could enlarge a brush that is too small, but it will become blurry… so i better enlarge the source for the brush before. crop your image. if you are happy with your source, the final step is making the brush: edit > define brush preset > name your brush and click ok. (if “define brush preset” does not show up clickable, i create a new layer and it will function) before you click the last ok, you can see the size of your brush by the small number on the left: i try to make them not smaller than 500. — hope that makes sense for you. you will see, it is easy-peasy when you tried some. it is addictive, to say the least;) so much FUN!!
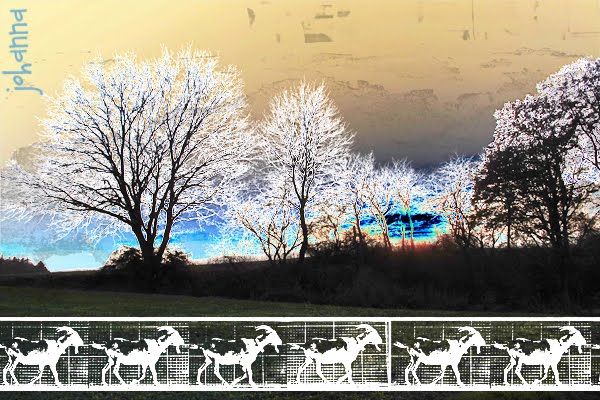
 and here is a new brush i just made: i love muybridge´s photos and they come as copyright free images from dover company (booklets with cd). i turned a stripe with goats into a brush and took a photo of a sunset i recently made (not good quality). set the photo on blending mode exclusion, added nancy donaldson´s new texture “pole1″ (90° turning) and decided to let the goats walk through the photo. i like it – and it was not much effort to make:)
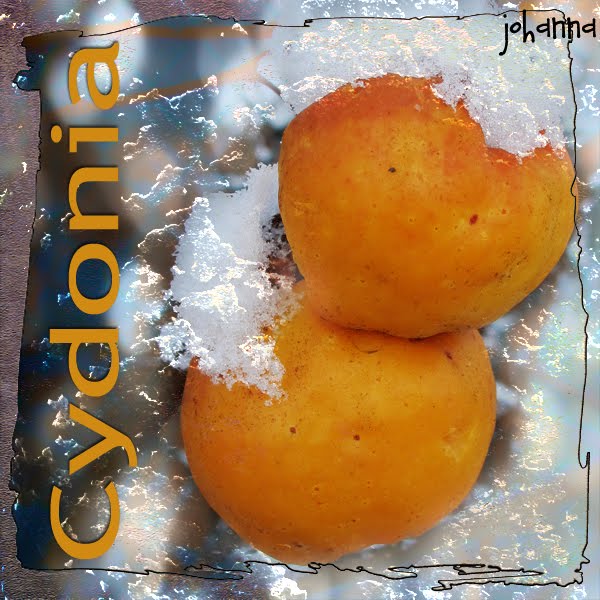 the texture from bonnie i added is “faded fresco” (find the other PAF-contributions here), and i thought nancy donaldson´s new “pole 7″ would intensify the snow on the quince.